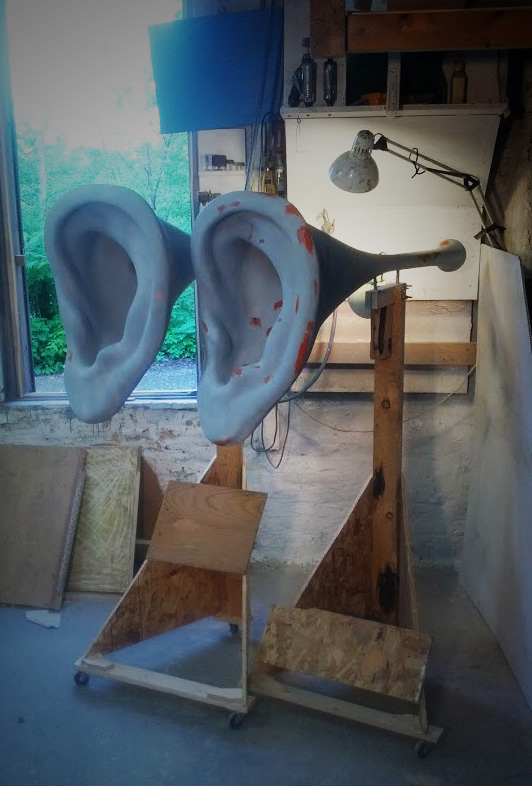
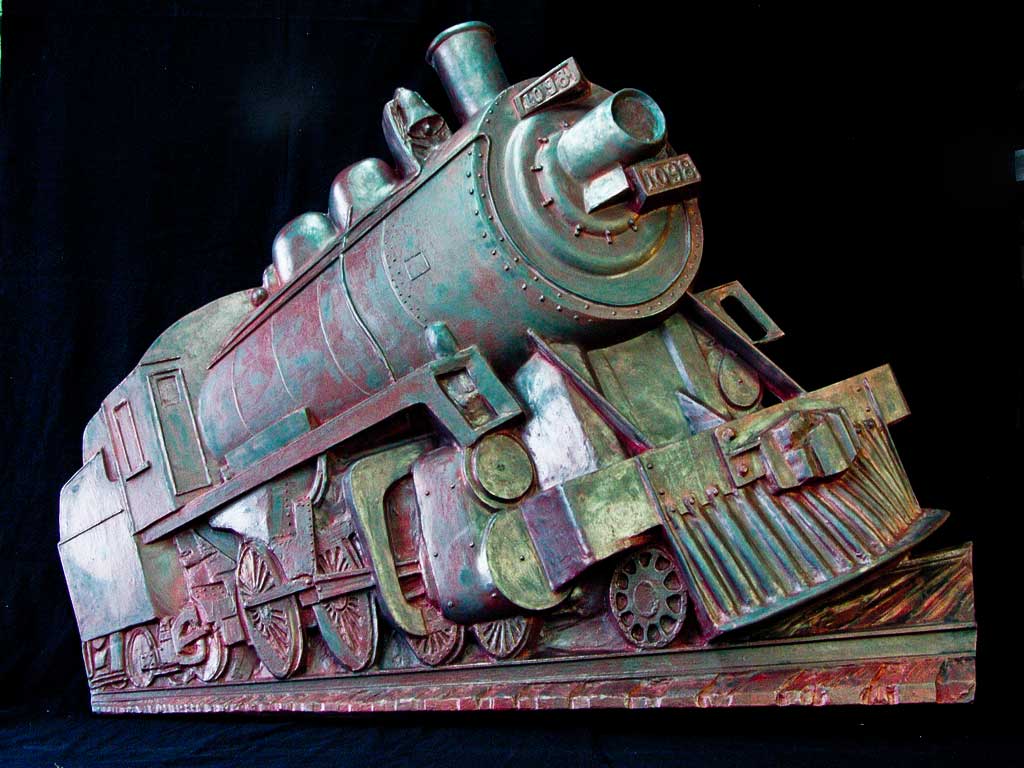
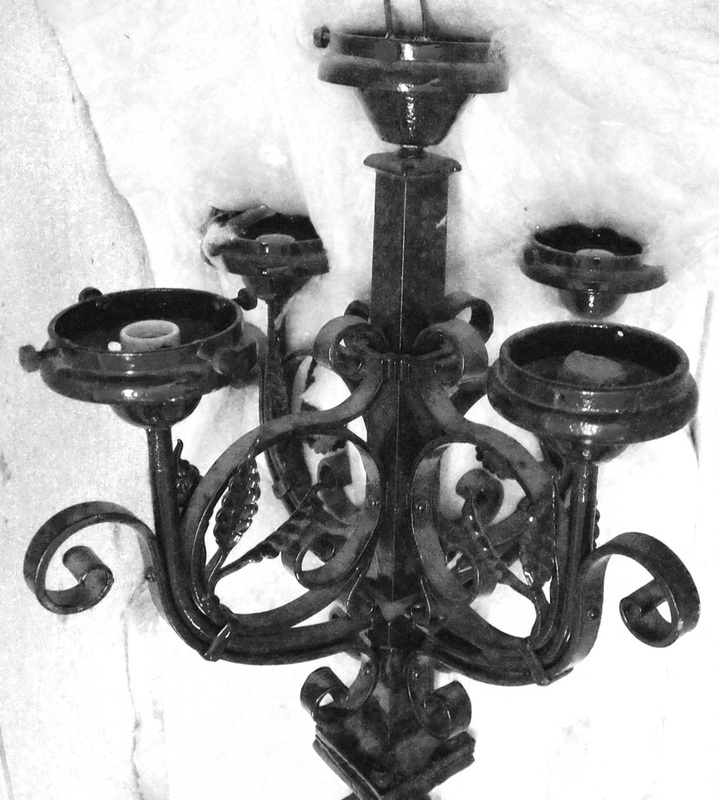
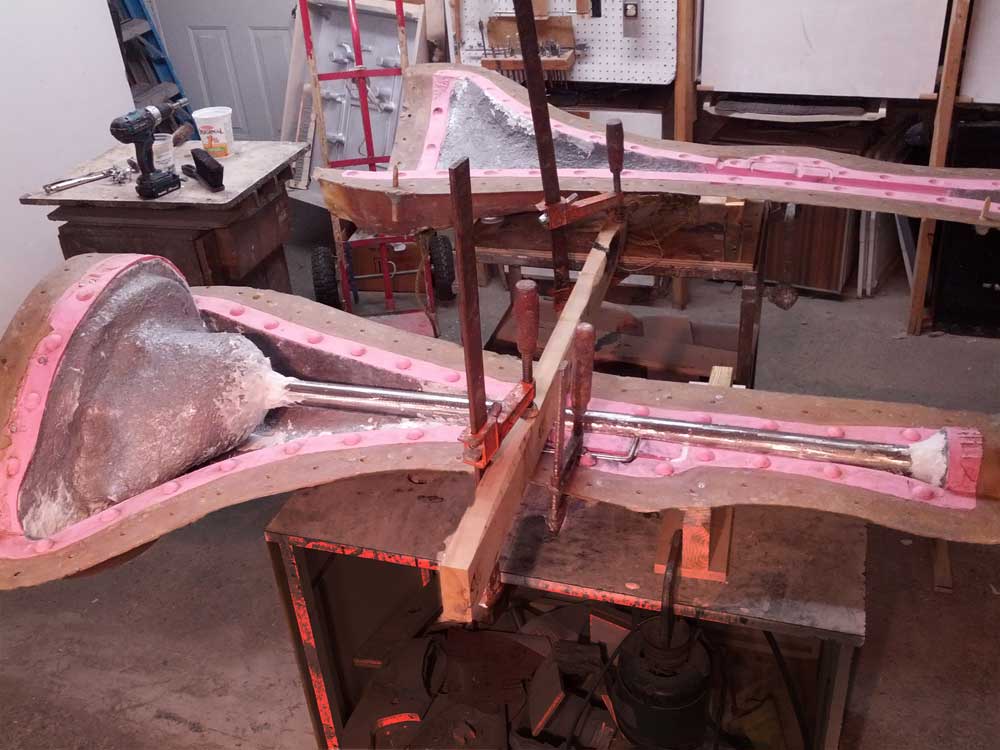
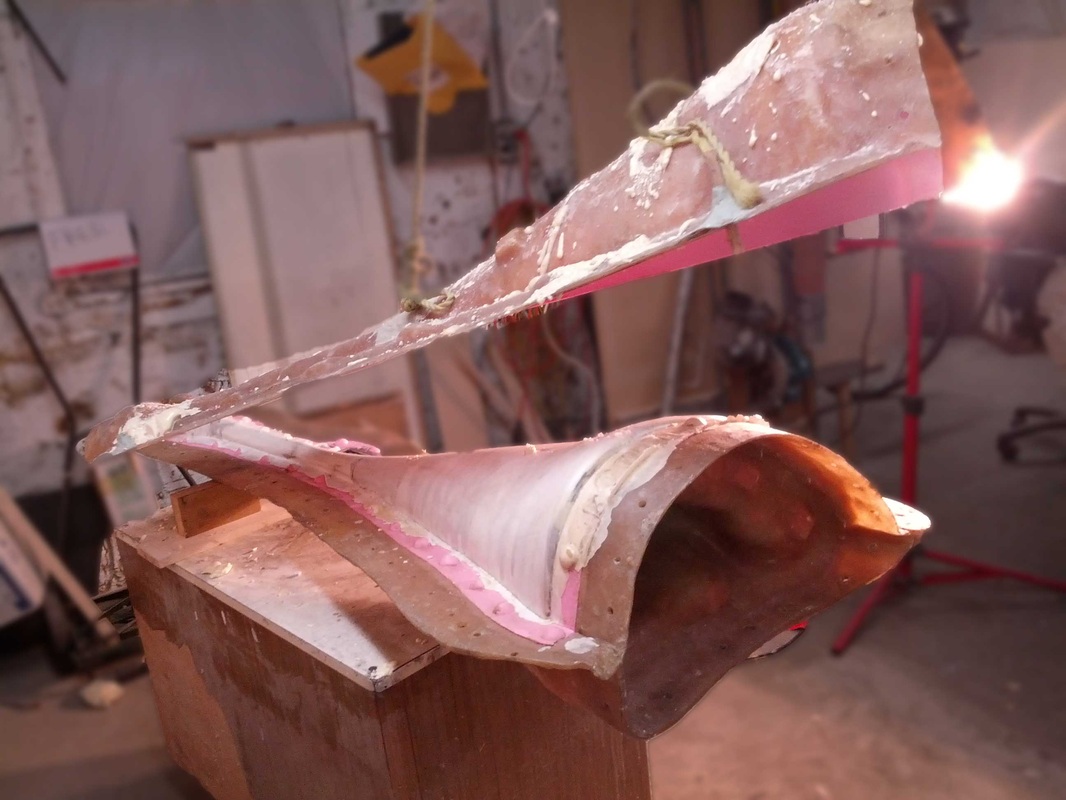
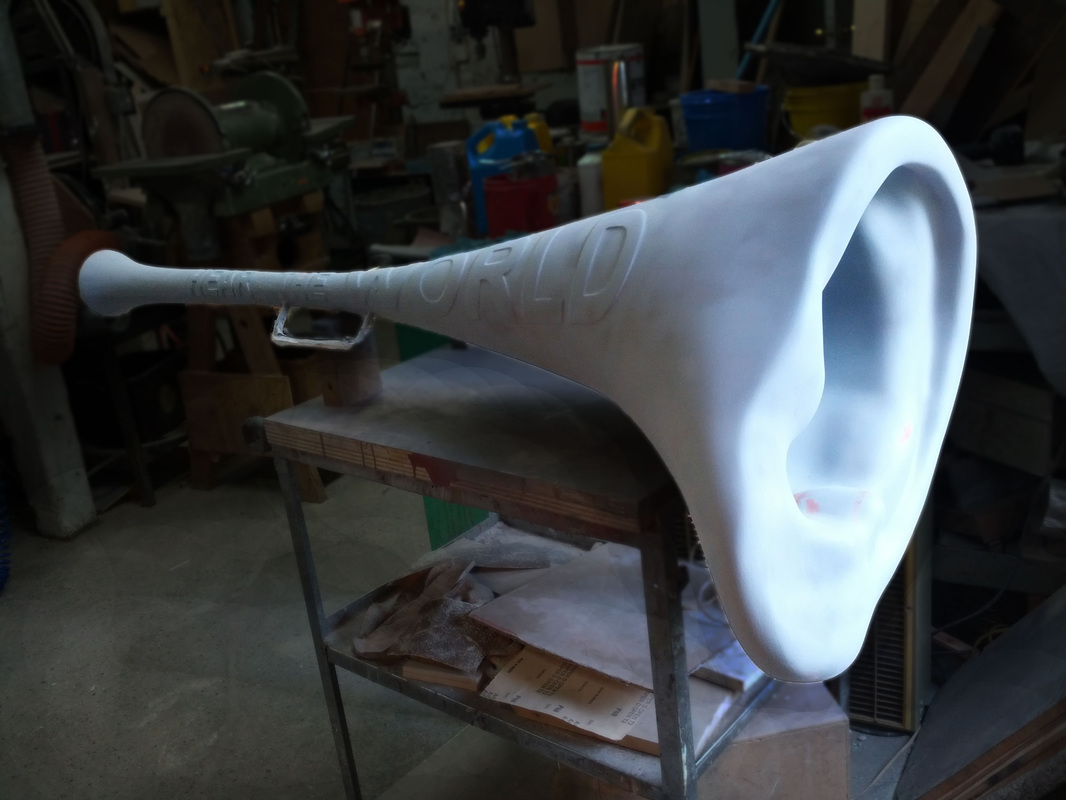
I thought, surely, that this job would be finished today. I did a final sanding job, and applied the final layer of primer. Of course, this showed up all kinds of little faults in the surface that had to be filled. So, again, lots of little daubs of red filler. Tomorrow, this will sand to perfection. Or not. This is pretty much day 4 of this process.
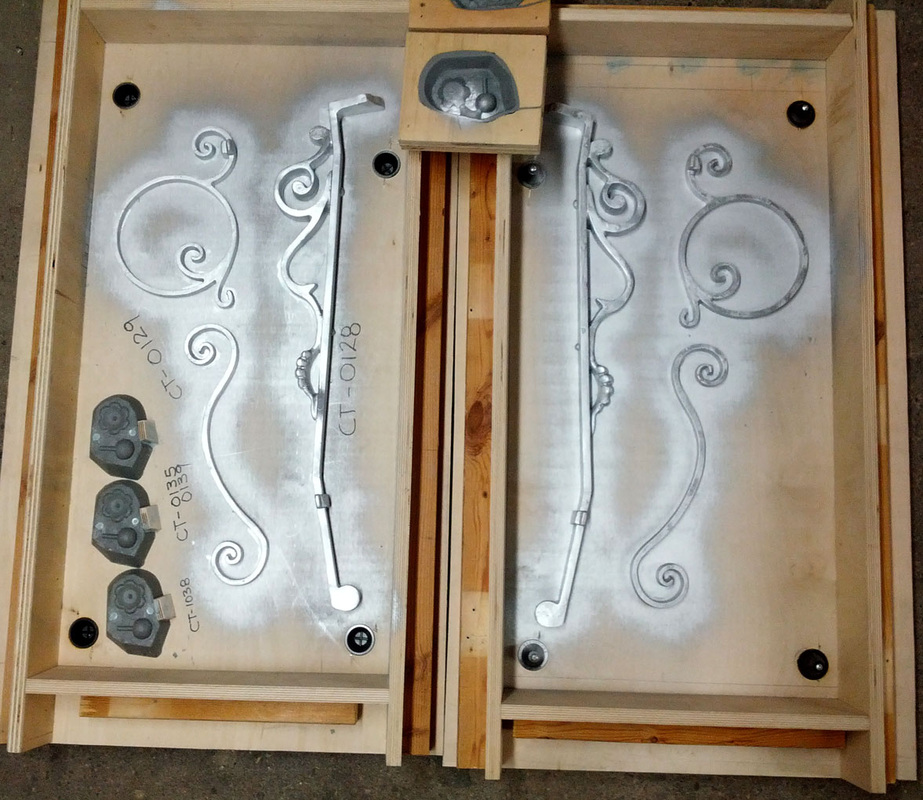
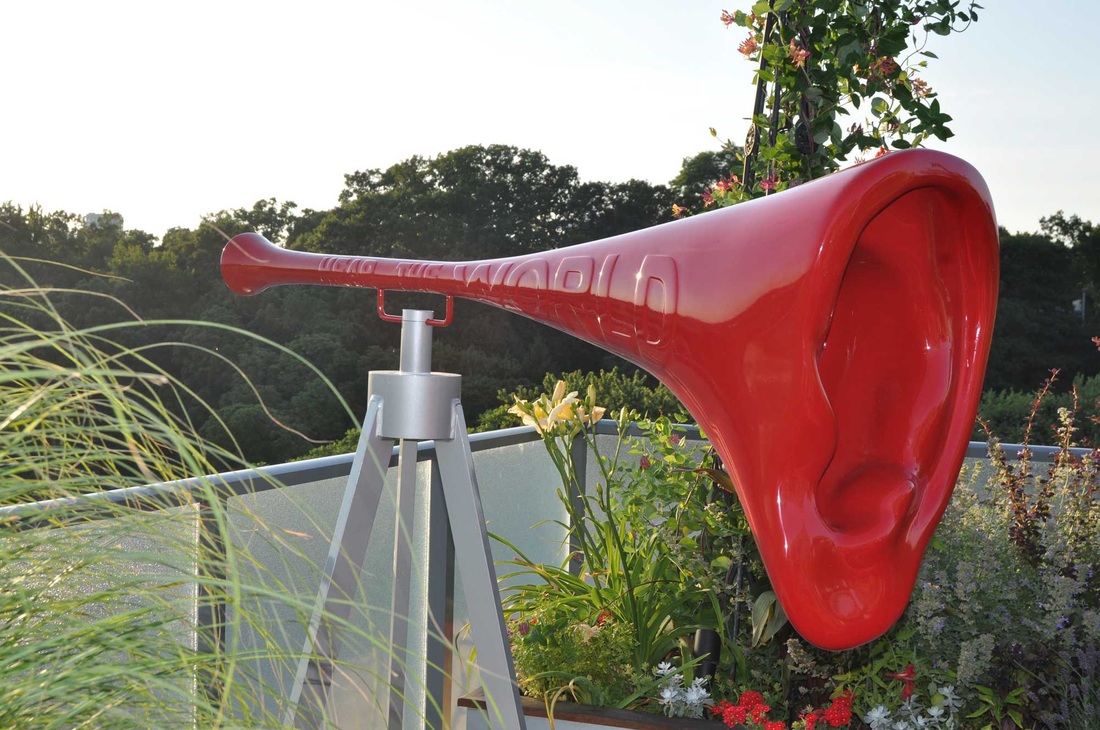
Note the rolling stands that I've built today. These sculptures have to go to E&L Collision just down the street for the final paint job of candy apple red. Any faults in the surface are going to glare like a ketchup stain on your white tie. The carts will make it easy for the painters to position these awkward shapes for finishing.
Note the rolling stands that I've built today. These sculptures have to go to E&L Collision just down the street for the final paint job of candy apple red. Any faults in the surface are going to glare like a ketchup stain on your white tie. The carts will make it easy for the painters to position these awkward shapes for finishing.


 RSS Feed
